How to create your own custom GPT using ChatGPT
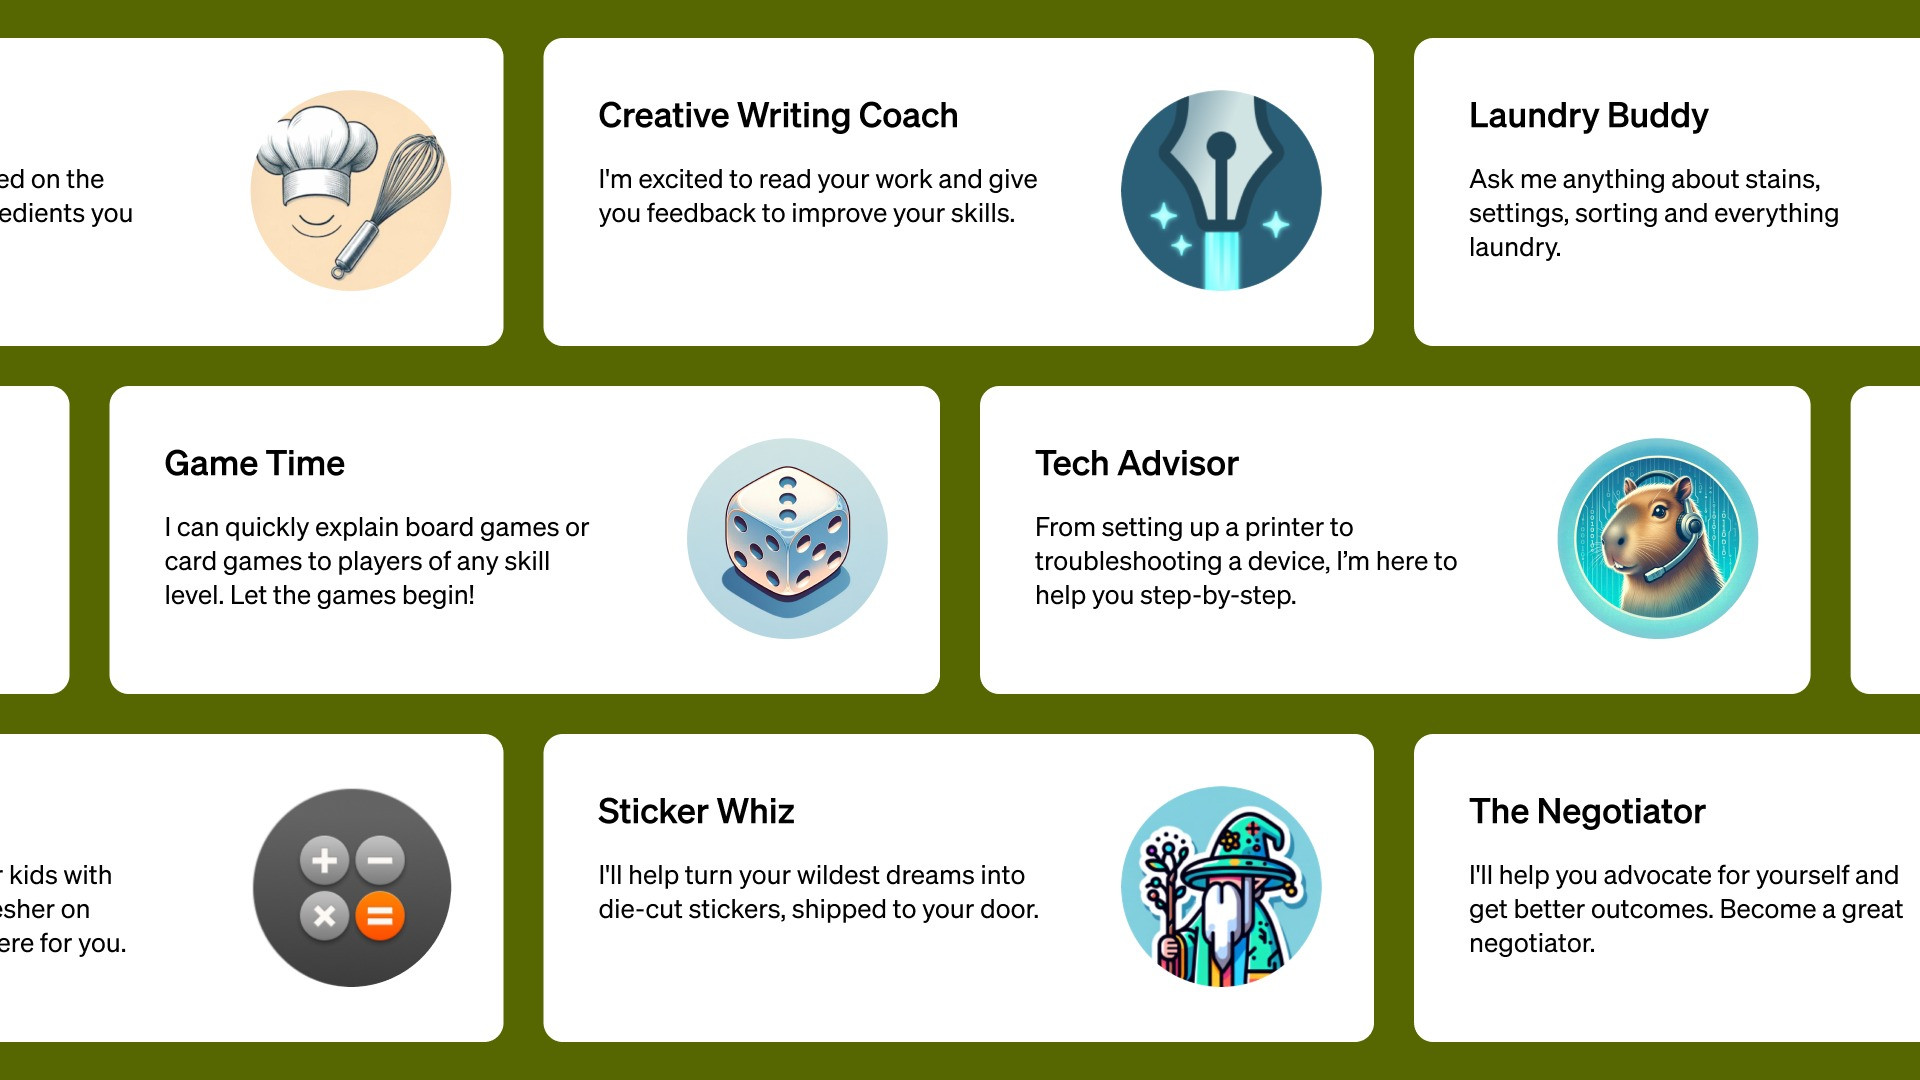
OpenAI's custom GPT feature has become one of the most exciting things of the year, allowing you to build your own customised GPT bot with language, style, data, and their reason for being. Chatbots have become increasingly popular as users begin using these AI systems for information, learning new skills, helping with work tasks, or even a friendly conversation when low. However, when OpenAI introduced the custom GPT feature last November, users had the opportunity to customise their own AI assistant. Here's how you can create your own GPT with a ChatGPT Plus subscription ($20/month) and begin your first conversation with your AI friend: To create a GPT, open ChatGPT on your web browser and select Explore GPTs from the menu. Users will be presented with a few publicly available GPTs built for different purposes that can be used if they suit their purpose. To create your own, select Create+ and begin describing the kind of bot you wish to create on the left sidebar. Refine the name, tone, conversational style, and other adjustments you want to make to the bot and test it out in the preview window on the right. If you wish to dig into more detail, click on the Configure tab and find the Instruction prompt to note the structure and style of your bot written by GPT Creator. This can be edited to suit your needs. Ensure that you don't forget to adjust your voice and conversational style, prompt for a to-do list, a reminder of the last conversation's summary, and fact-check using the web with provided links and sources. You can also input specific data or knowledge that you need your bot to possess, like rules for a particular game, by adding it under Upload Files and then Knowledge. Creators can also add additional features to the GPT, like web browsing, DALL-E Image Generation, and Code Interpreter. Coders can manually add other actions from the Create New Action button. After the GPT is complete, save the AI bot and select if it should be available to only you, publicly to everyone, or accessible via link. You can even add a logo and the designation for the person or group who made it, along with its category.

OpenAI's custom GPT feature has become one of the most exciting things of the year, allowing you to build your own customised GPT bot with language, style, data, and their reason for being. Chatbots have become increasingly popular as users begin using these AI systems for information, learning new skills, helping with work tasks, or even a friendly conversation when low. However, when OpenAI introduced the custom GPT feature last November, users had the opportunity to customise their own AI assistant. Here's how you can create your own GPT with a ChatGPT Plus subscription ($20/month) and begin your first conversation with your AI friend: To create a GPT, open ChatGPT on your web browser and select Explore GPTs from the menu. Users will be presented with a few publicly available GPTs built for different purposes that can be used if they suit their purpose. To create your own, select Create+ and begin describing the kind of bot you wish to create on the left sidebar. Refine the name, tone, conversational style, and other adjustments you want to make to the bot and test it out in the preview window on the right. If you wish to dig into more detail, click on the Configure tab and find the Instruction prompt to note the structure and style of your bot written by GPT Creator. This can be edited to suit your needs. Ensure that you don't forget to adjust your voice and conversational style, prompt for a to-do list, a reminder of the last conversation's summary, and fact-check using the web with provided links and sources. You can also input specific data or knowledge that you need your bot to possess, like rules for a particular game, by adding it under Upload Files and then Knowledge. Creators can also add additional features to the GPT, like web browsing, DALL-E Image Generation, and Code Interpreter. Coders can manually add other actions from the Create New Action button. After the GPT is complete, save the AI bot and select if it should be available to only you, publicly to everyone, or accessible via link. You can even add a logo and the designation for the person or group who made it, along with its category.
